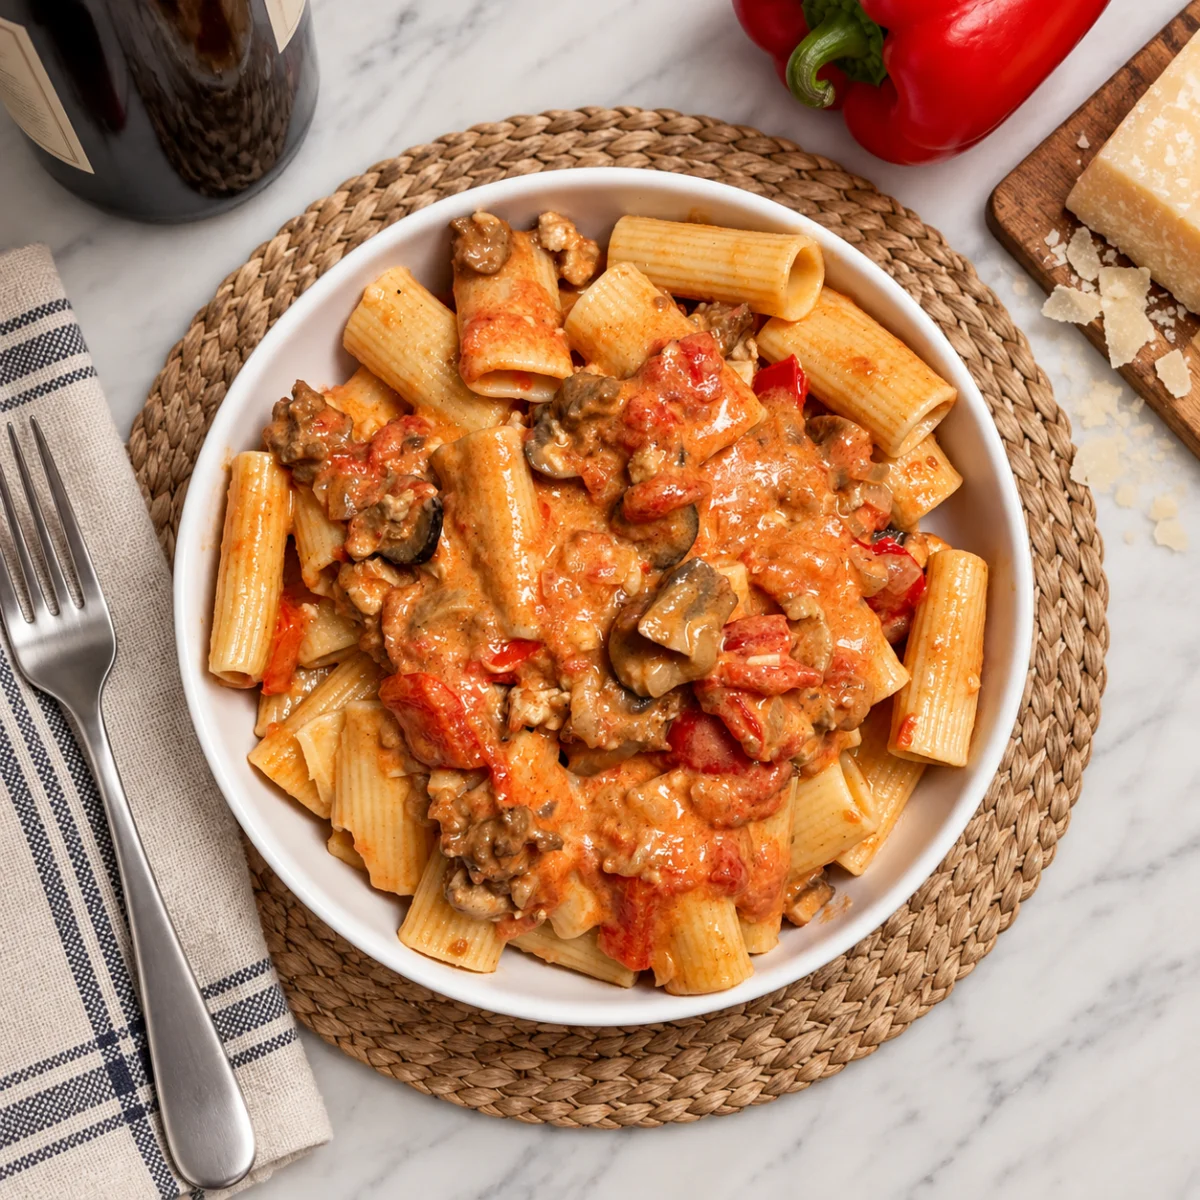
Coconut Pineapple Peri-Peri Sauce balances fiery chile heat with tropical sweetness and creamy coconut milk. Roasting the peppers, onions, garlic and pineapple builds deep flavor before Portuguese-inspired peri-peri elements meet aromatic Suya spice in a versatile fusion sauce for chicken, seafood, vegetables or dipping.
Portuguese
Coconut Pineapple Peri Peri Sauce
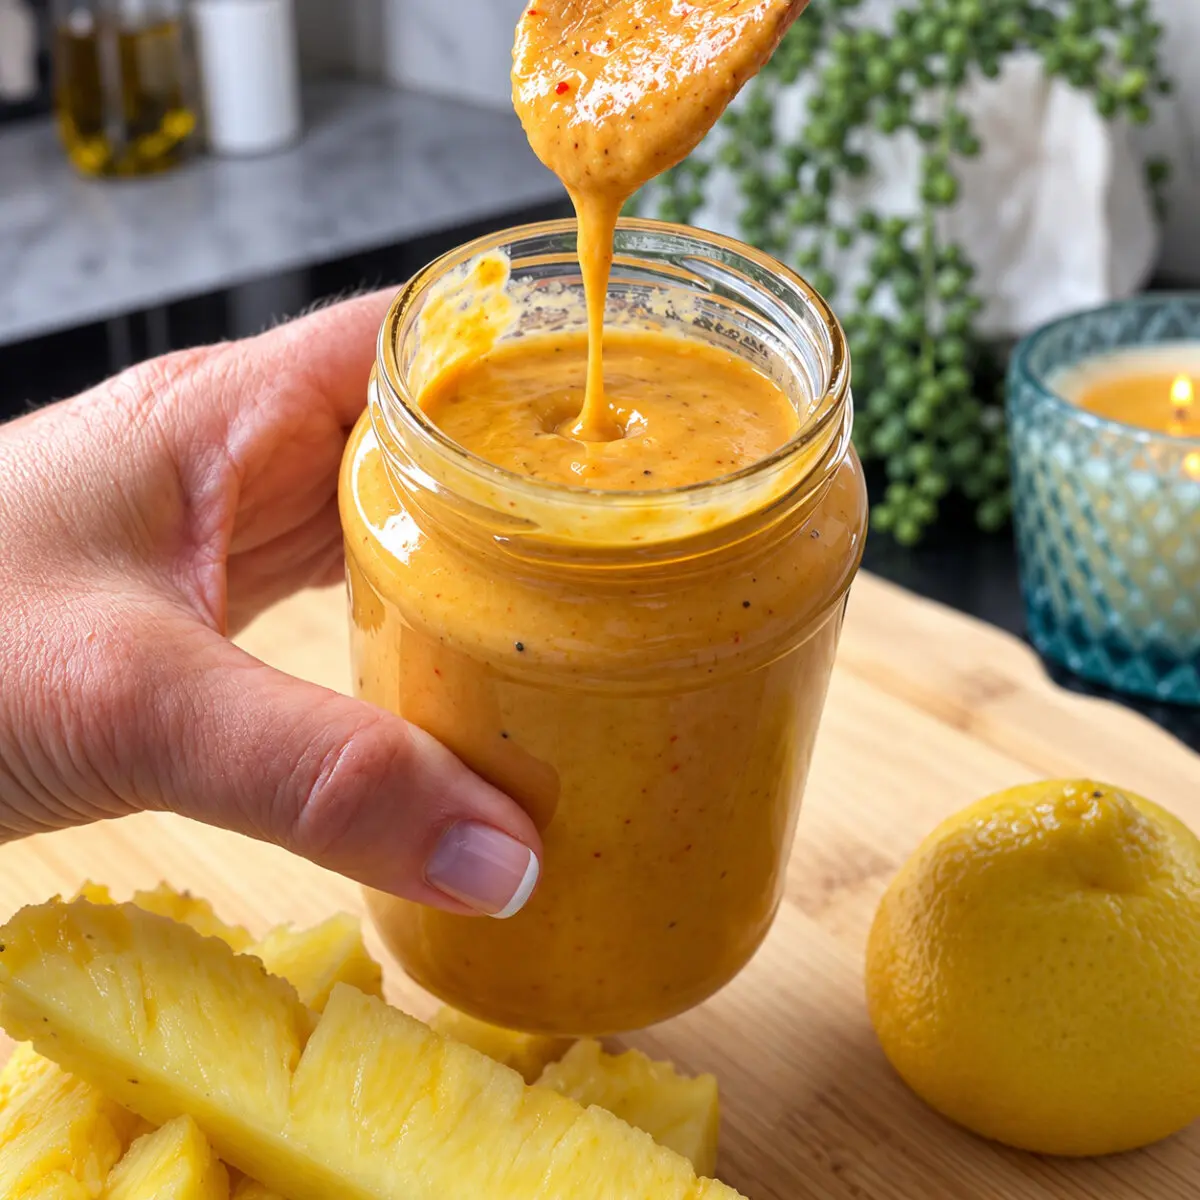
I had my first taste of peri peri sauce about 30 years ago at a popular fried chicken place in London. I was intrigued by how busy it was, but even more intrigued by that sauce! Finding something different overseas that I hadn’t come across back home always made me feel like I’d discovered a little treasure. These days, you can buy peri peri sauce, but I still love making it my own. My version builds on its Portuguese and southern African roots with roasted pineapple, creamy coconut and a little West African suya seasoning. It’s fruity, tangy and lively with chile—a delicious way to bring that London discovery to an American cookout.
Mary’s Introduction
Why These Flavors Work
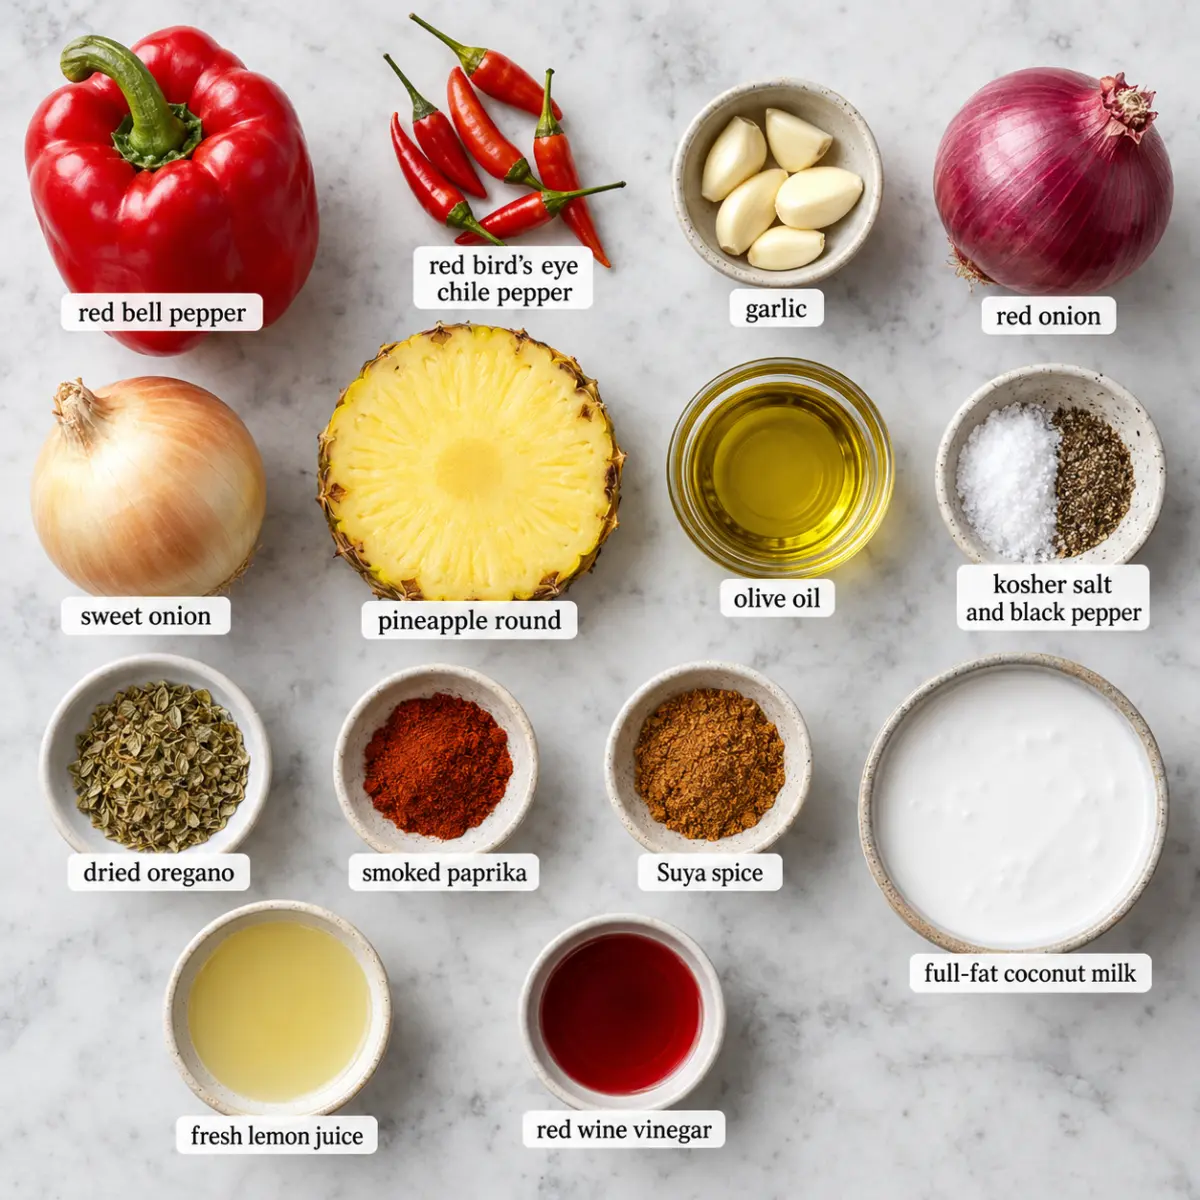
Sweet pineapple and rich coconut milk soften the sharp heat of bird's eye or Thai chile, while roasted bell pepper, onion and garlic create a savory foundation. Lemon juice and red wine vinegar keep the sauce bright, smoked paprika and oregano support the peri-peri character, and Suya spice adds warm West African depth.
SAVE FOR THE LEFTOVER IDEA
Save Reserve 1 cup (about 240 ml) of the Coconut Pineapple Peri Peri Sauce from the original recipe. to make Peri‑Peri Pineapple Chicken Sliders.
THE RECIPE
Coconut Pineapple Peri Peri Sauce
Prep 30 minCook 55 minTotal 85 min
Equipment Needed
- Blender Shop this item
- Ovenproof Casserole Dish Shop this item
Ingredients
Roasted Vegetables and Pineapple
Instructions
Chef Notes
- Begin with ½ chile pepper because bird's eye and Thai chiles can vary considerably in heat.
- Let the roasted ingredients cool before blending, and follow the blender manufacturer's precautions for warm foods.
Nutrition estimated per serving
222 Calories2.2 g Protein12.7 g Carbs19.1 g Fat10 g Sat. Fat2.9 g Fiber6.6 g Sugar10 mg Sodium
View Full Nutrition Label
Nutrition Per Serving
Calories222
Protein2.2 g
Carbs12.7 g
Fat19.1 g
Sat. Fat10 g
Fiber2.9 g
Sugar6.6 g
Sodium10 mg
Nutrition information is an estimate based on available ingredient data and can vary by brand, preparation and substitutions. It is provided for convenience and is not medical advice.
Ratings & Reviews
Be the first to rate this recipe.
YOU MAY ALSO LIKE
More from Mary’s Kitchen
How to Make Coconut Pineapple Peri Peri Sauce
Preheat the Oven
Heat the oven to 400°F.
Prepare the Produce
Cut the bell pepper and onions into large chunks, quarter the pineapple and trim the top inch from the garlic head while leaving the skin on.
Season for Roasting
Place the vegetables, pineapple, chile pepper and garlic in a casserole pan, drizzle with 1 tablespoon of olive oil and season with salt and pepper.
Roast Until Tender
Roast for about 45 minutes until the vegetables are tender, then remove and let cool.
Start the Blender
Squeeze the roasted garlic into a blender and add the roasted vegetables, pineapple and ½ chile pepper.
Blend the Sauce
Add the oregano, smoked paprika, Suya spice, coconut milk, lemon juice, red wine vinegar and olive oil and blend until smooth.
Adjust and Serve
Add the remaining chile pepper if more heat is desired, adjust the seasonings and serve with chicken, seafood or vegetables, or as a dip.
Recipe Guidance
Storage
Transfer the sauce to a clean airtight container and refrigerate it promptly. Use a clean spoon each time and discard it if it develops an off odor, visible mold, or unexpected bubbling.
Reheating
The sauce may be served cold or at room temperature. To serve it warm, heat it gently in a small saucepan over low heat, stirring often; do not boil it aggressively because the texture may separate or reduce too far.
Make Ahead
Prepare the sauce at least several hours ahead so the flavors can blend. Stir it well after chilling and adjust only after tasting it at serving temperature.
Serving Suggestions
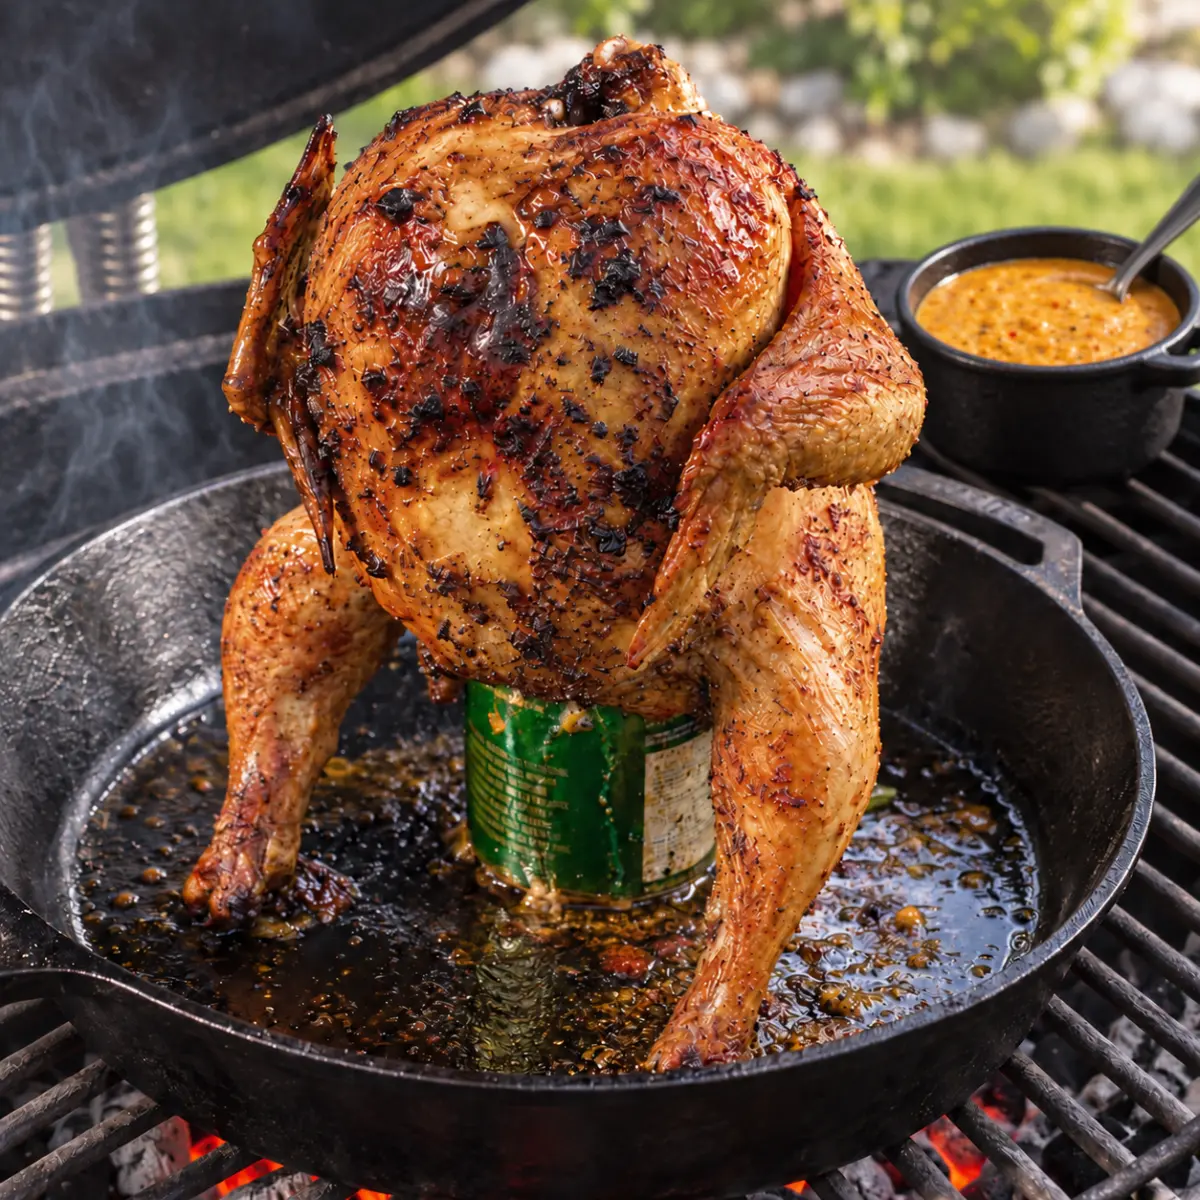
Serve with grilled chicken, pork, steak, seafood, or vegetables. Use it as a finishing sauce rather than brushing with a used utensil that has touched raw meat.